My offgrid house has an industrial automation panel.

I started building this in February, before covid-19 was impacting us here, when lots of mail orders were no big problem, and getting an unusual 3D-printed DIN rail bracket for a SSD was just a couple clicks.
I finished a month later, deep into social isolation and quarentine, scrounging around the house for scrap wire, scavenging screws from unused stuff and cutting them to size, and hoping I would not end up in a "need just one more part that I can't get" situation.
It got rather elaborate, and working on it was often a welcome distraction from the news when I couldn't concentrate on my usual work. I'm posting this now because people sometimes tell me they like hearing about my offfgrid stuff, and perhaps you could use a distraction too.
The panel has my house's computer on it, as well as both AC and DC power distribution, breakers, and switching. Since the house is offgrid, the panel is designed to let every non-essential power drain be turned off, from my offgrid fridge to the 20 terabytes of offline storage to the inverter and satellite dish, the spring pump for my gravity flow water system, and even the power outlet by the kitchen sink.
Saving power is part of why I'm using old-school relays and stuff and not IOT devices, the other reason is of course: IOT devices are horrible dystopian e-waste. I'm taking the utopian Star Trek approach, where I can command "full power to the vacuum cleaner!"
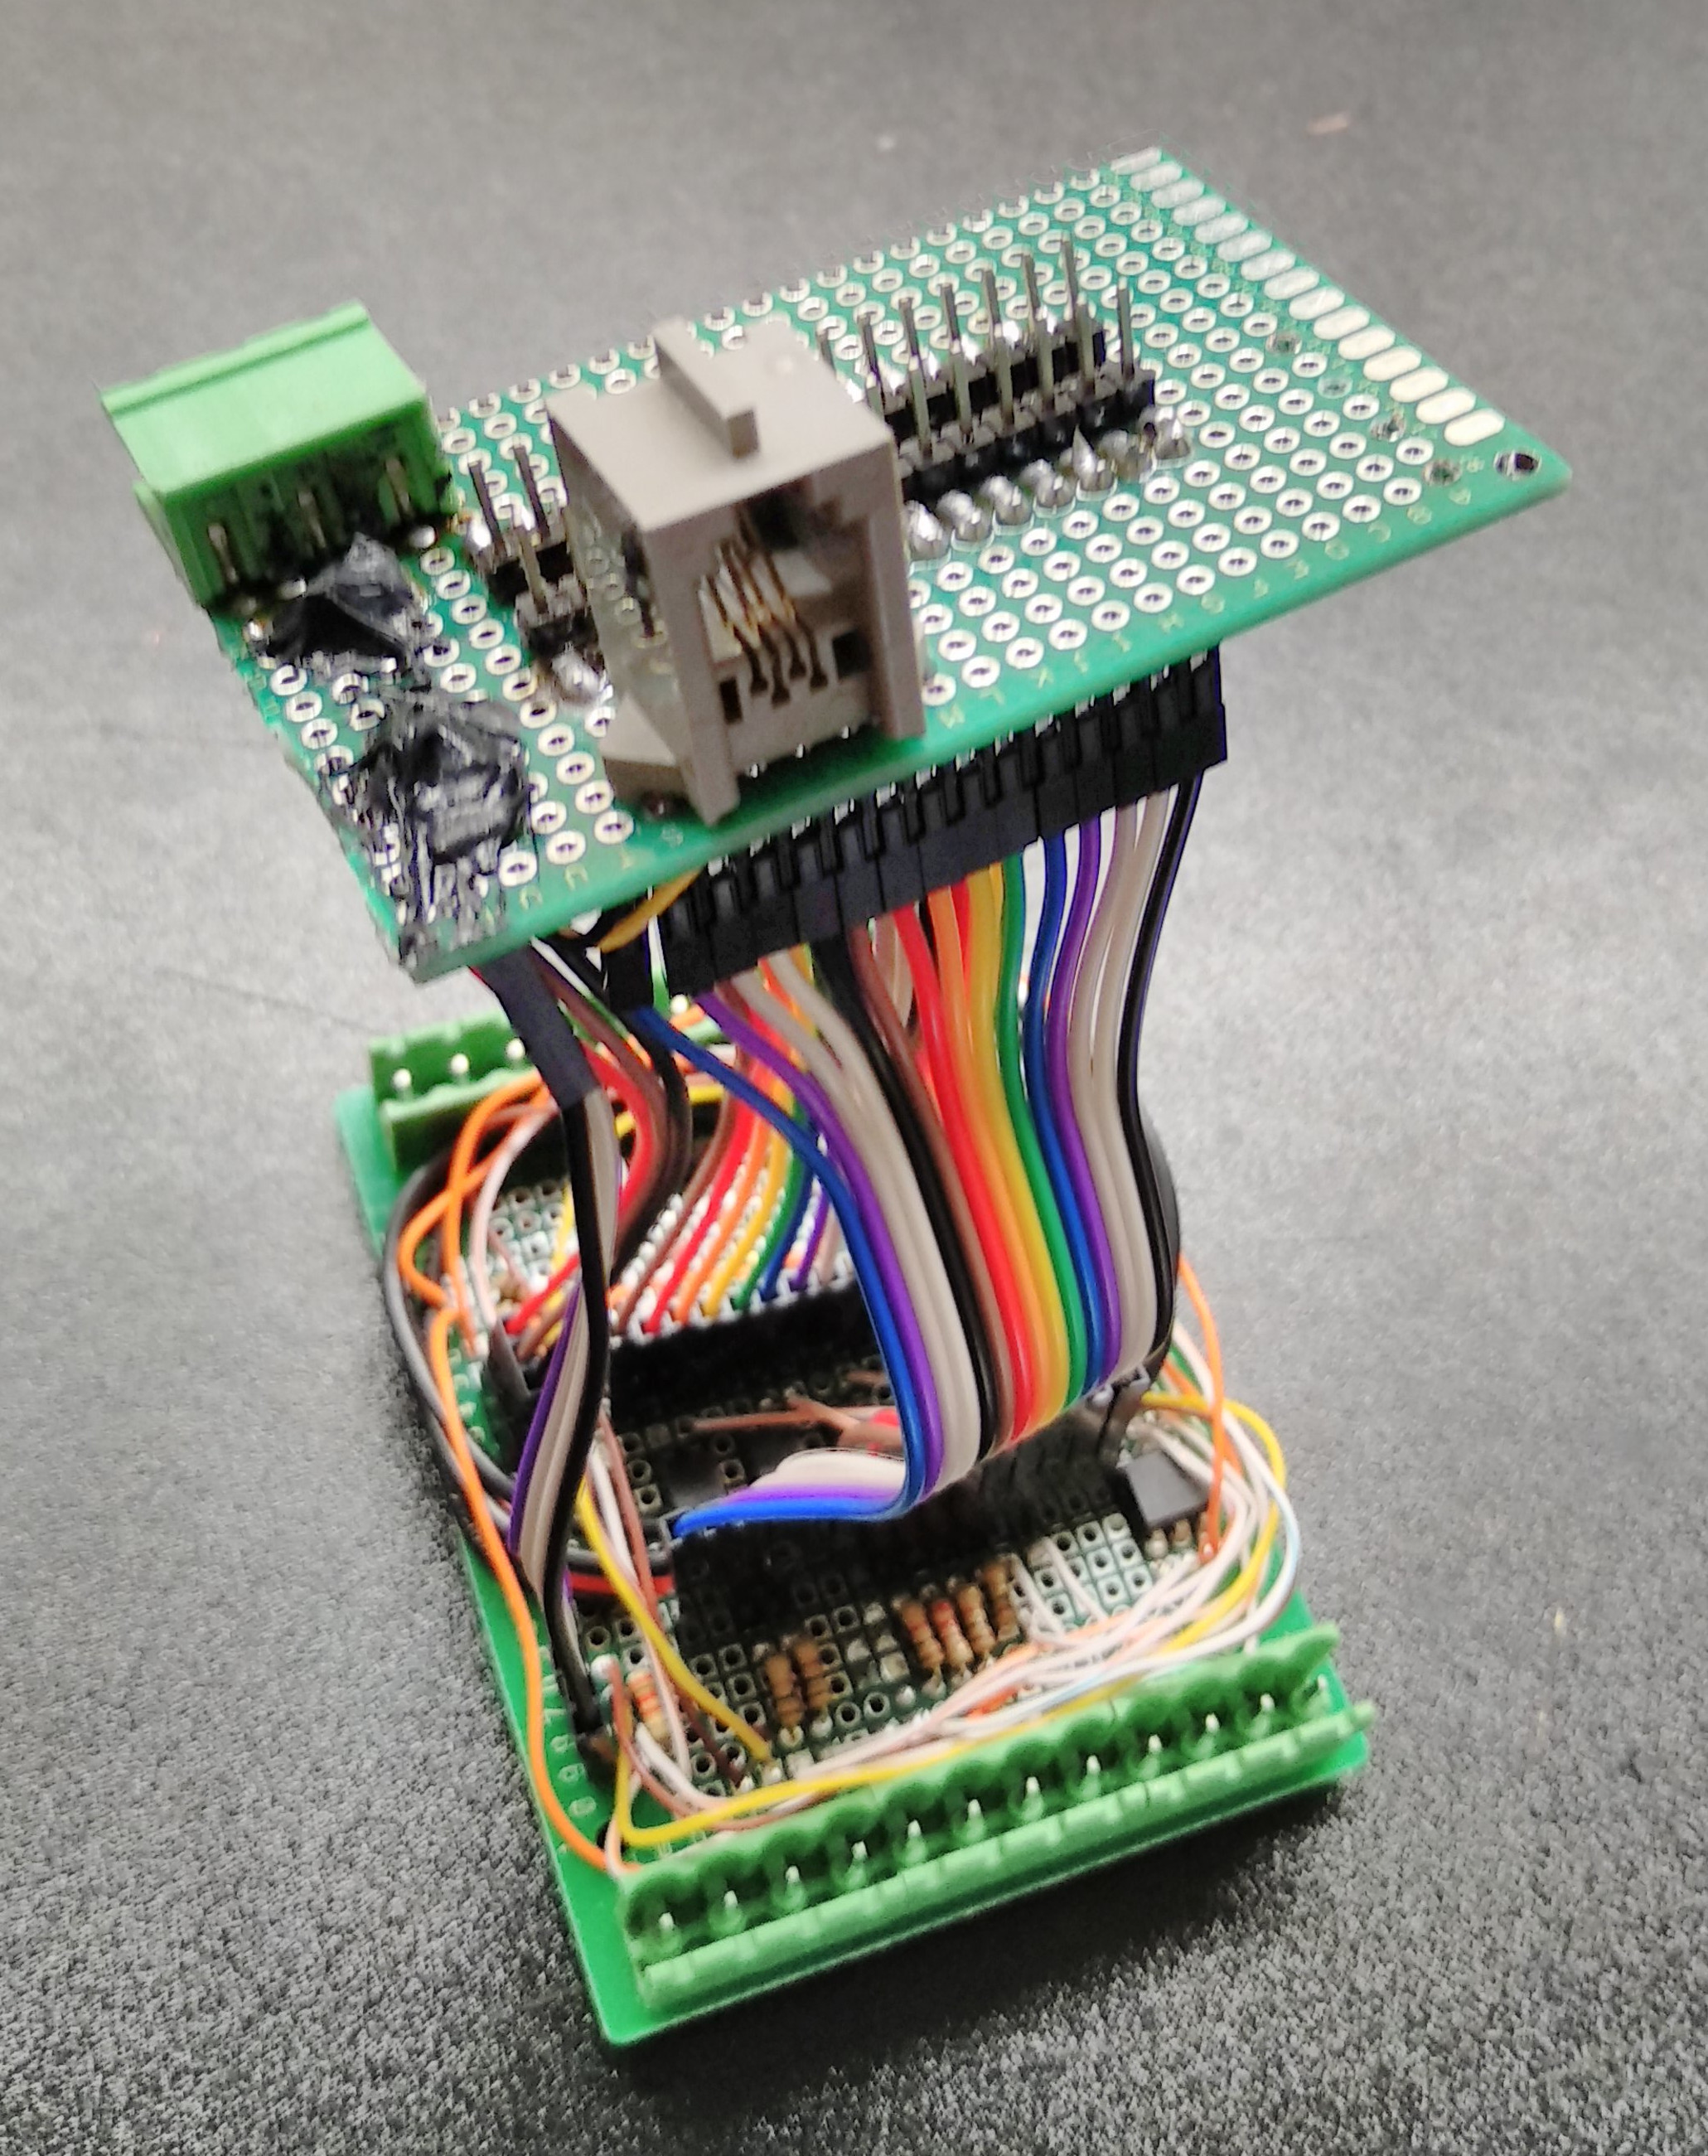
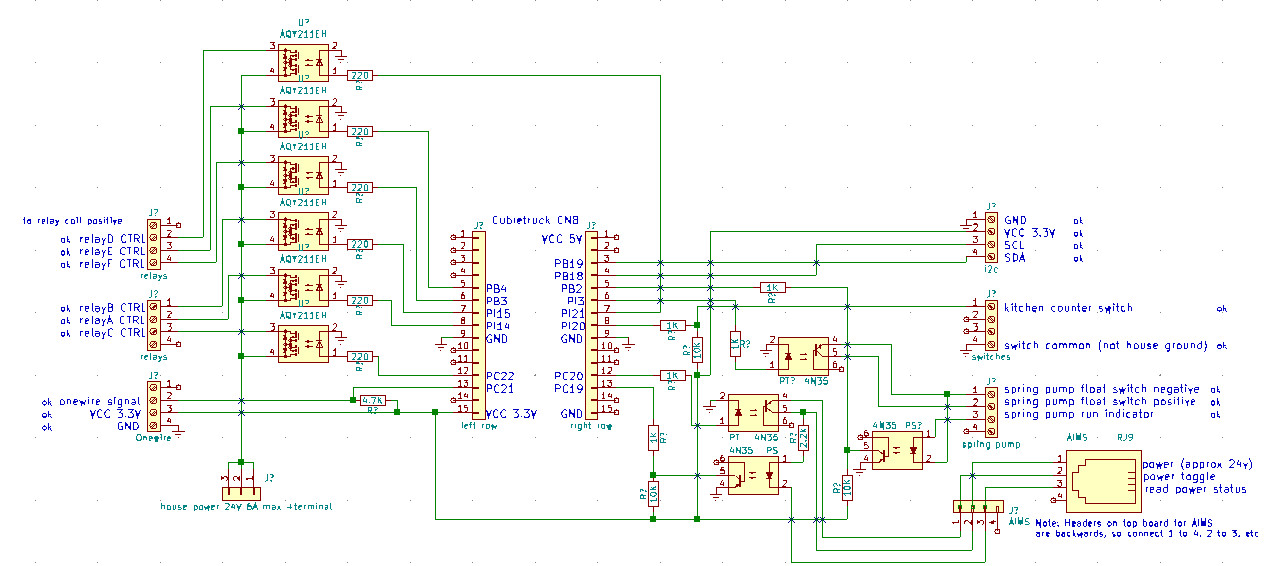
At the core of the panel, next to the cubietruck arm board, is a custom IO daughterboard. Designed and built by hand to fit into a DIN mount case, it uses every GPIO pin on the cubietruck's main GPIO header. Making this board took 40+ hours, and was about half the project. It got pretty tight in there.
This was my first foray into DIN rail mount, and it really is industrial lego -- a whole universe of parts that all fit together and are immensely flexible. Often priced more than seems reasonable for a little bit of plastic and metal, until you look at the spec sheets and the ratings. (Total cost for my panel was $400.) It's odd that it's not more used outside its niche -- I came of age in the Bay Area, surrounded by rack mount equipment, but no DIN mount equipment. Hacking the hardware in a rack is unusual, but DIN invites hacking.
Admittedly, this is a second system kind of project, replacing some unsightly shelves full of gear and wires everywhere with something kind of overdone. But should be worth it in the long run as new gear gets clipped into place and it evolves for changing needs.
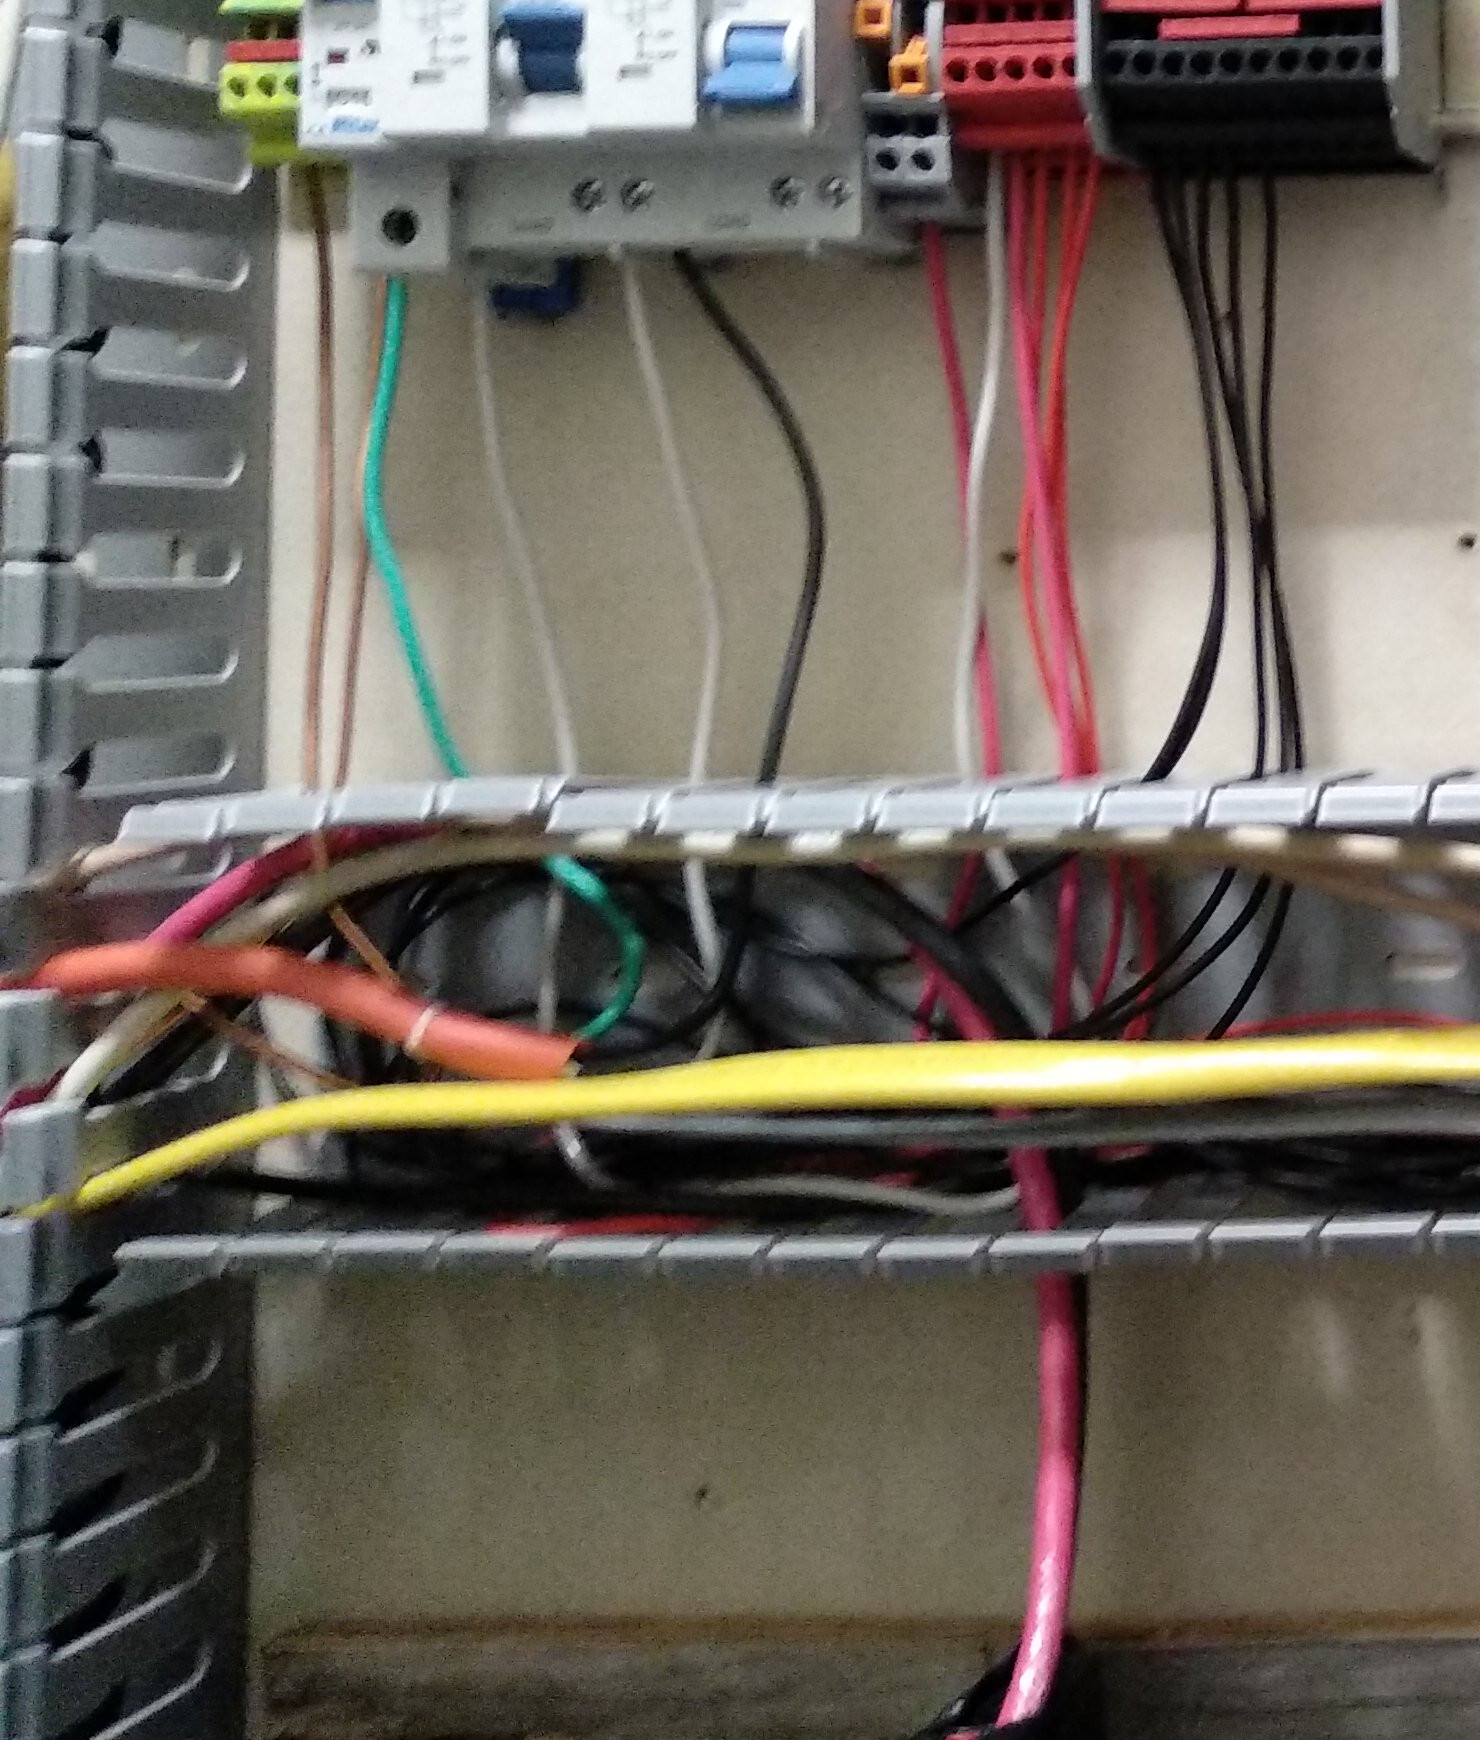
Also, wire gutters, where have you been all my life?
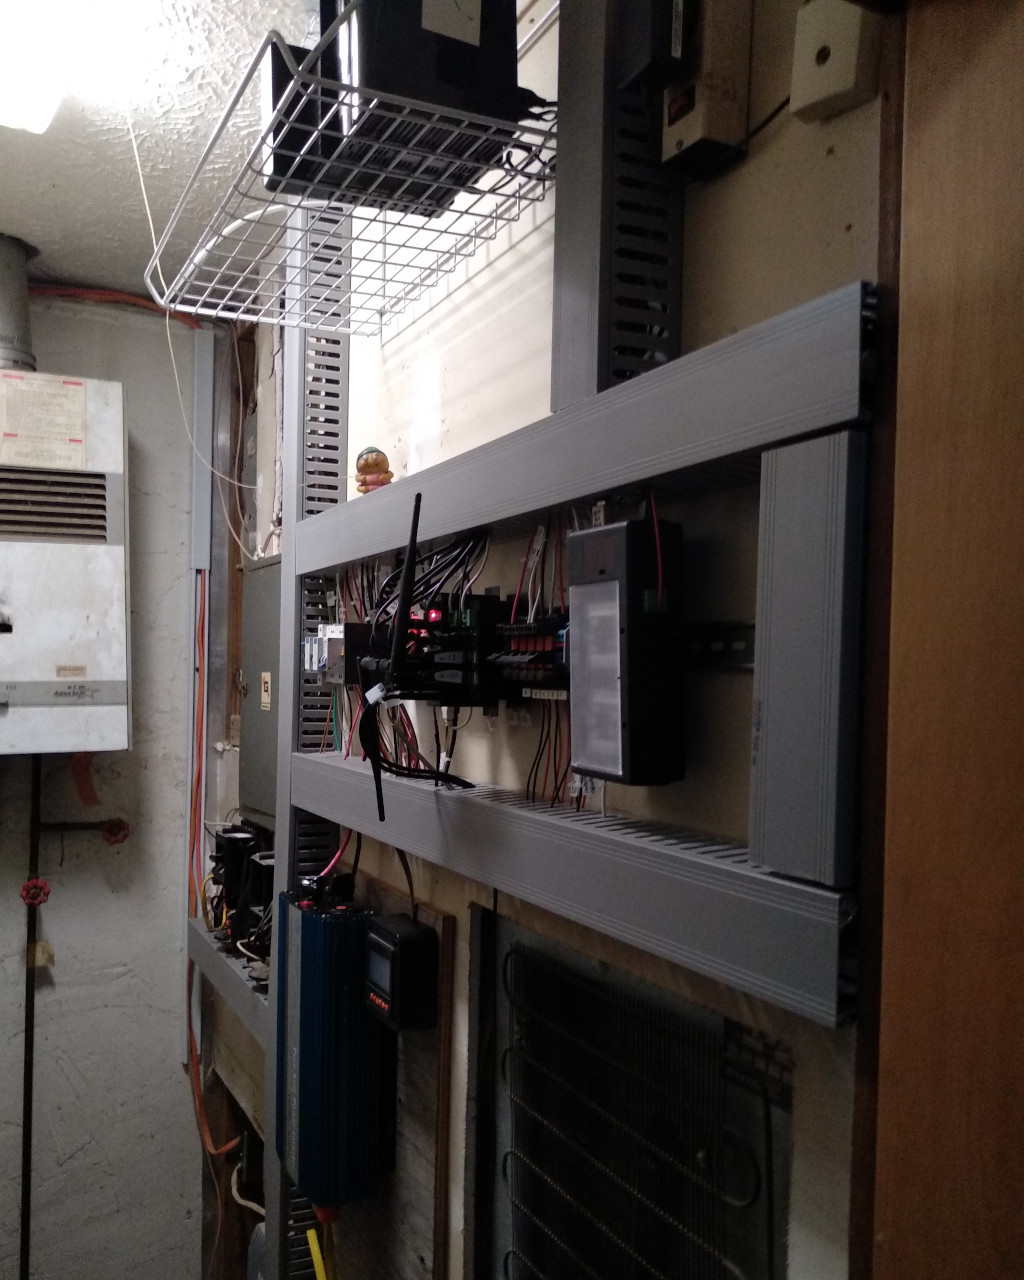
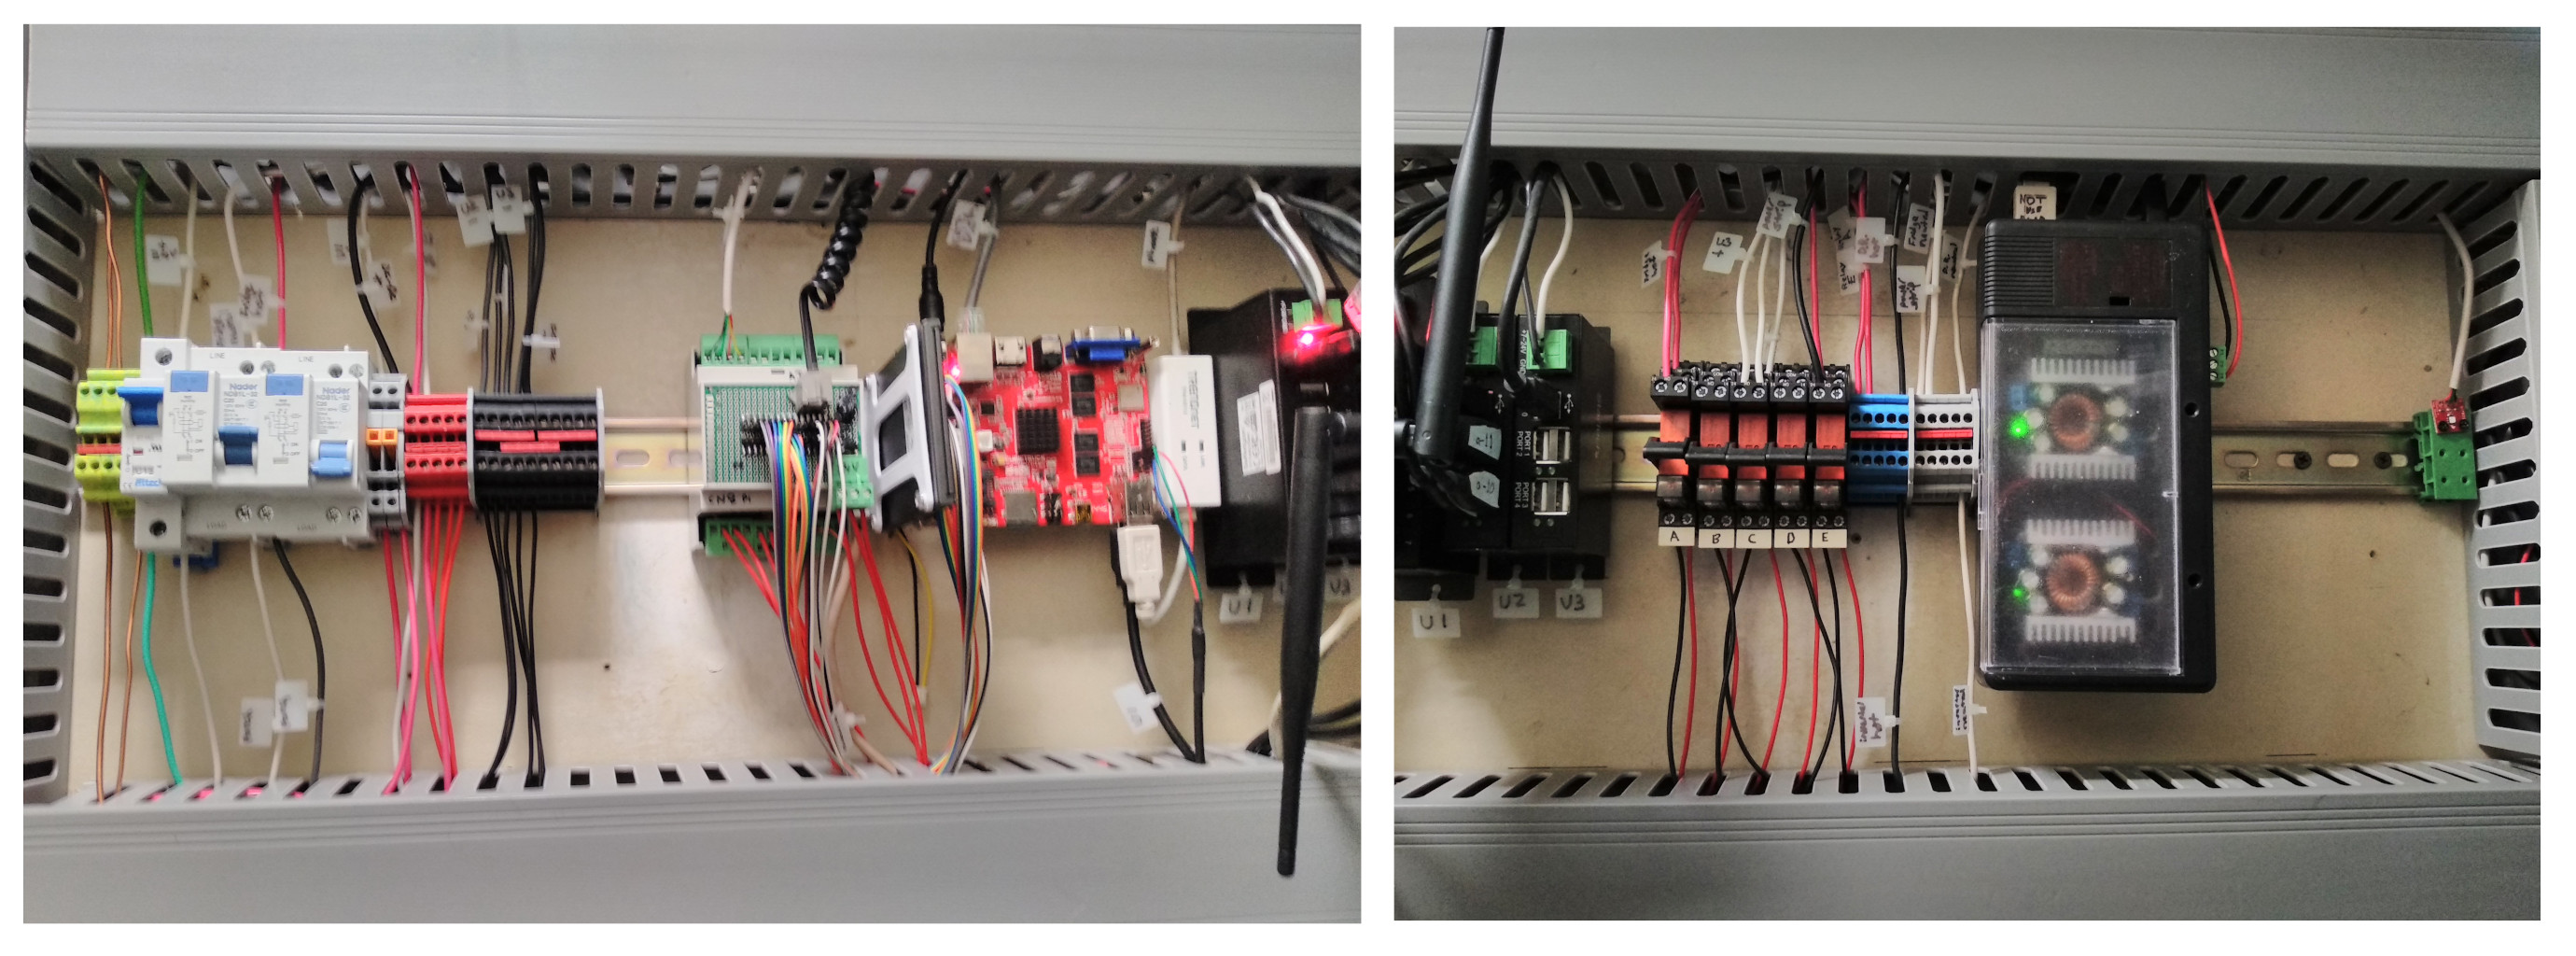
Finally, if you'd like to know what everything on the DIN rail is, from left to right: Ground block, 24v DC disconnect, fridge GFI, spare GFI, USB hub switch, computer switch, +24v block, -24v block, IO daughterboard, 1tb SSD, arm board, modem, 3 USB hubs, 5 relays, AC hot block, AC neutral block, DC-DC power converters, humidity sensor.
Hi,
I just stumbled onto your blog yesterday while searching for information on FRP in Haskell. Really cool stuff using Haskell for home automation in embedded systems!
I just wanted to post a comment because I noticed you include nice alt text on your images, which I greatly appreciate as a blind person. One other note on accessibility is that navigating around your blog would be easier if the article headings were some sort of HTML heading like
. Screen readers give shortcuts for jumping between different headings, so having sections of a webpage of intrest start with headings means as a screen reader user I could very easily switch between them instead of scrolling through the whole article before finding the beginning of the next one.
Just thought I would mention it since it seems you already care about accessibility.
Oh and happy late birthday!
Regards, Sam
@samuel.kacer, the sections of the blog are inside html article tags, and the heading of each is inside a html header tag. That seems like sufficient semantic information to me..
I guess what I'll suggest is, if there's some reason that's not sufficient, you file a bug report on https://ikiwiki.info which is what the blog uses.
@Joey
Sectioning using "article" is helpful, as they provide semantics about the web page layout, but they are not considered to be a navigational landmark, so not all screen readers support navigating by "article" sections. From ARIA: article role
"Articles are not considered a navigational landmark, but many assistive technologies that support landmarks also support a means to navigate among articles. ..."
"header" elements are turned into navigational landmarks when they are descendants of the "body" element and this type of landmark is the "banner". They are the converse of a "footer" element which transform into "content info" landmark when it is directly child of "body". As navigational landmarks they are just meant for the whole page and not for individual sections of the page.
In Section 4.1 of WAI-ARIA Authoring Practices 1.1 is described which HTML semantic region elements get turned into aria landmarks.
Finally, headings are what most screen readers go to first for navigation of a web page. So for those reasons I'd recommend making the article titles headings. If you don't want to literally make them a "h1-6" because it would mess with your CSS then you can just set aria attributes which will change how the page is understood by assisstive tech but not affect any visual rendering of the page. a role="heading" aria-level="2"Lemons/a (using _ instead of angular brackets)
More info on heading role